If you’re planning to sand your floors, you’re in luck. Here are some tips for sanding your floors with a GULVKBH. Read on to discover the pros and cons of using a sander, belt, and more. This article will give you the inside scoop on all three. Also, find out how to tell if your belt is too dull or if it’s time to replace it.
GULVKBH—Top Rated Sander
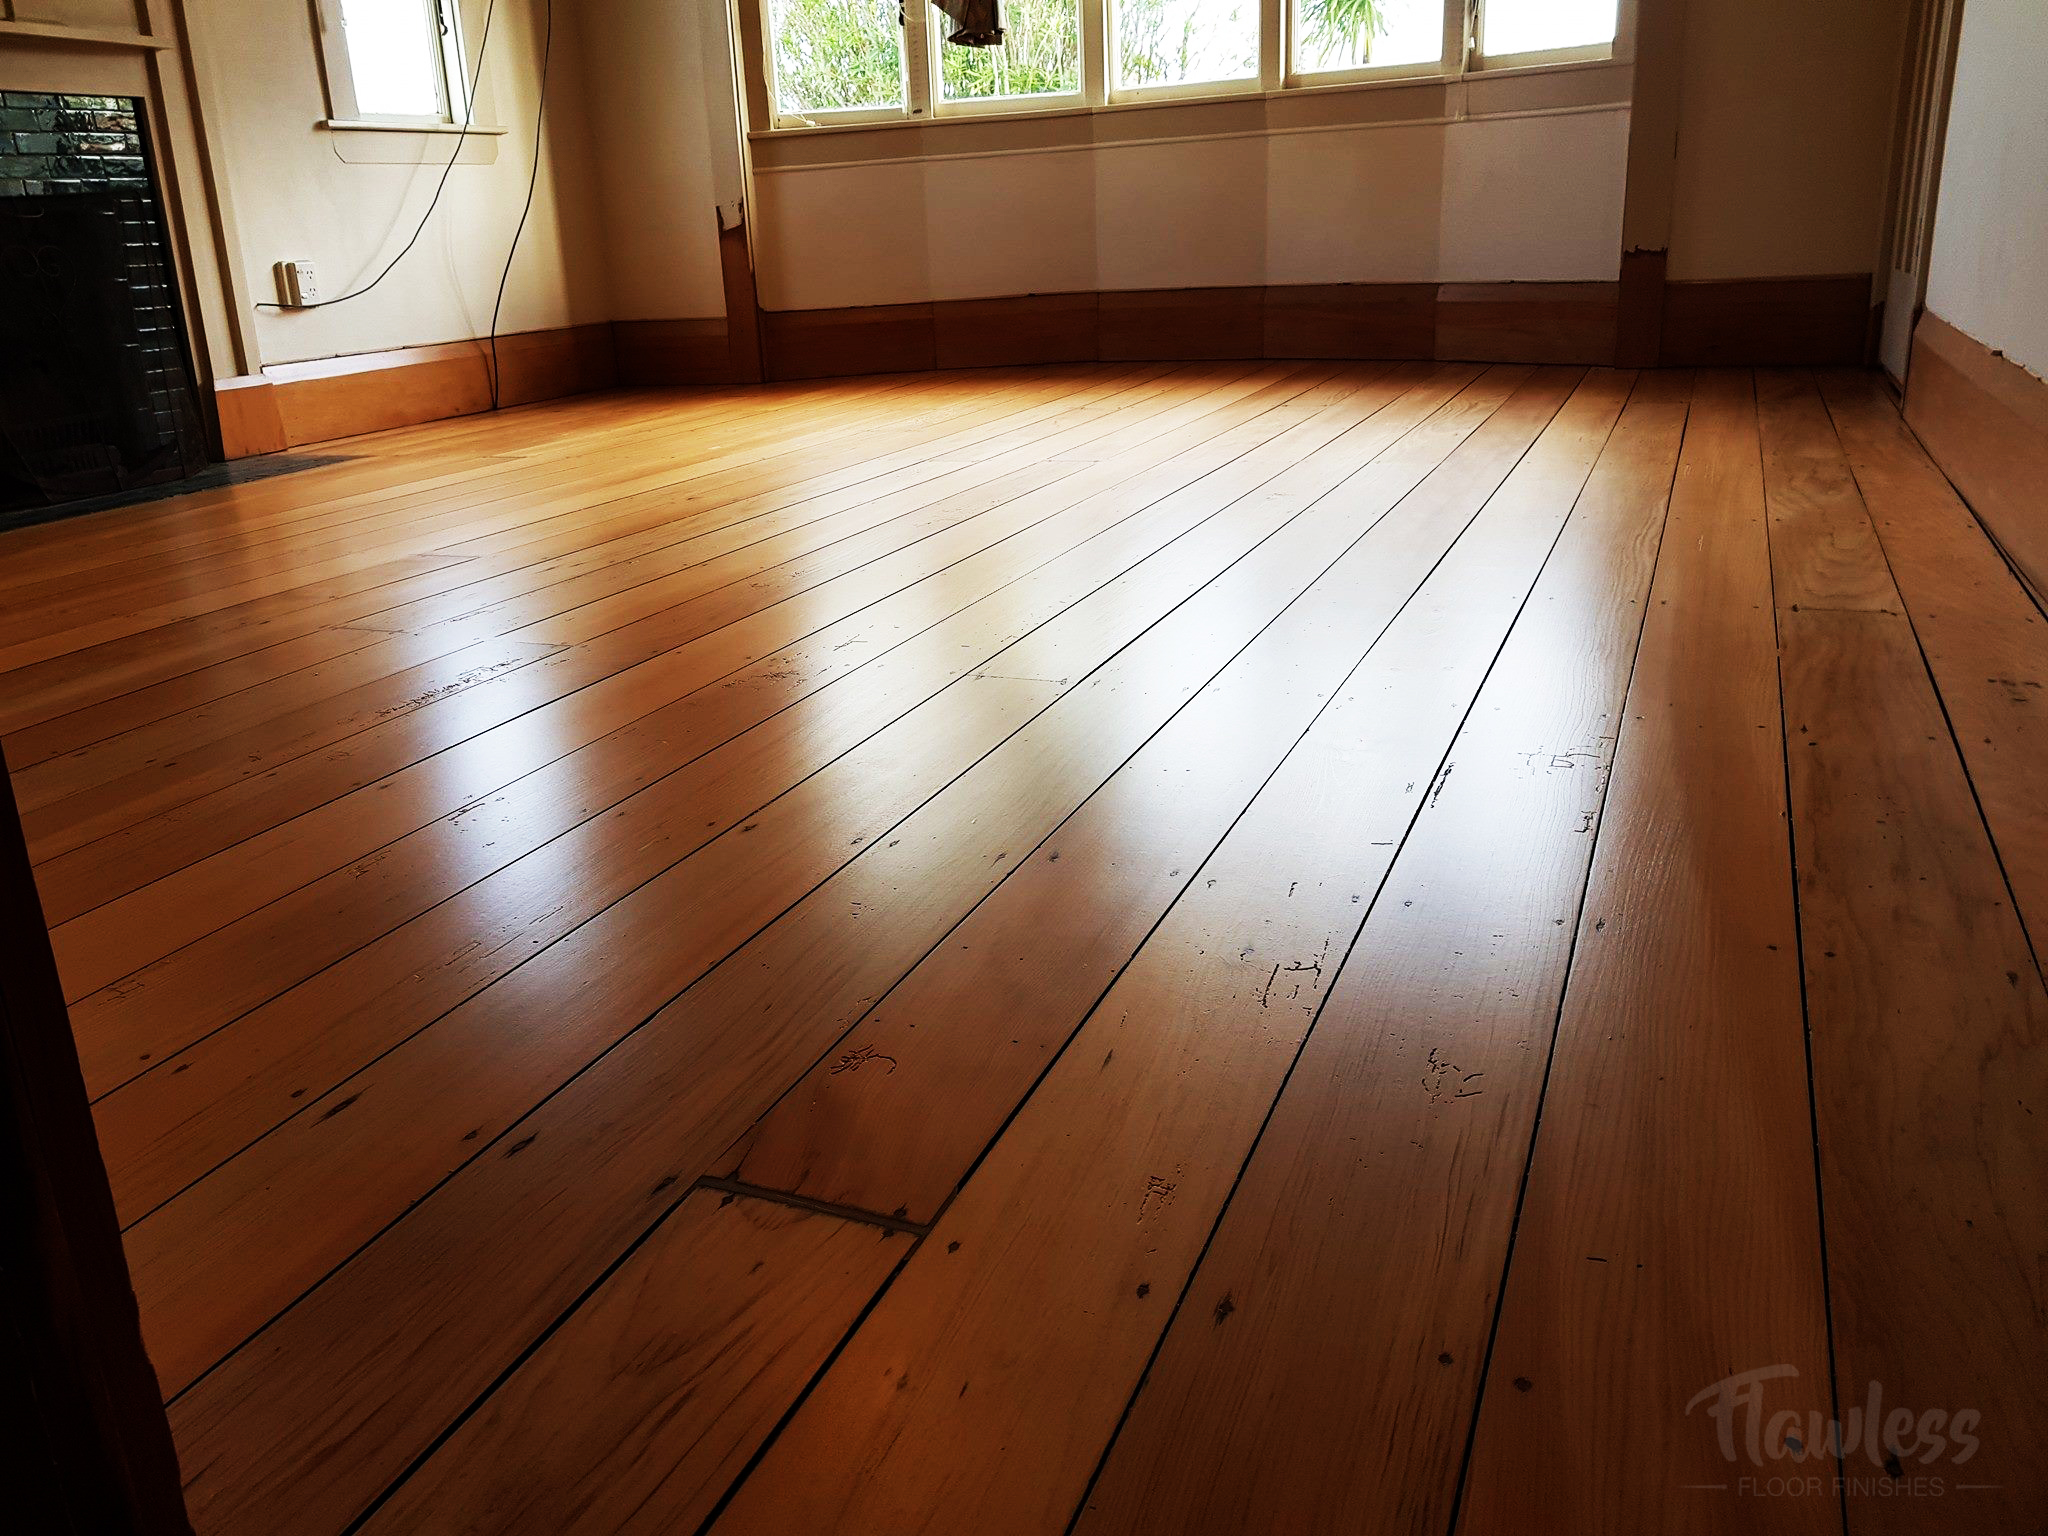
If you’re looking to sand your floor, you’ve come to the right place for cheap gulvafslibning pris. Using a sander can create tons of dust and noise, and there’s a good chance that you’ll get splinters. You should wear a facemask and eye protection, and consider buying a floor sander to protect your eyes and lungs from the wood dust.
If you want to sand your floors, you can choose from a range of different floor sanding products. The type of sandpaper you choose depends on the condition of your floorboards, so make sure to start off with a 24 grit paper. The finer grits won’t remove dirt or old varnish, which means more work and more cost.
GULVKBH sanding belt
If you’re in the market for new floor covering, it’s time to start thinking about floor sanding. With a little knowledge and the right tools, a brand new floor can be transformed in no time. Here are some tips to help you get started. Start by reading this article to learn more about the pros and cons of floor sanding. By the time you’ve finished reading this article, your new Gulvafslibning København will look as good as the day it was installed.
Using dull belts when floor sanders are used can cause uneven sanding and resulting in wild scratches. To prevent this problem, you should first clean the floor surface thoroughly. This applies to sanding a newly installed wood floor, as well as cleaning between grits on a large machine. Otherwise, you might find abrasive “hitchhikers” on your floor that will cause wild scratches. Also, make sure to follow the sanding sequence. Start from the finest grade and skip grades 50 and 80.
If you are working on a patterned or mixed-wood floor, you should use a large paper disc. This disc should be used with a hard plate driver, which usually has a felt pad attached. Using two discs will increase the support for the abrading disc and decrease the chances of center-paper tearout. You can measure the amount of square footage covered by each of the discs by measuring how much they overlap each other.
If you use a floor buffer correctly, you can achieve excellent results and keep your floors looking great. A good quality buffer can save a less-than-perfect sanding job. Using the buffer incorrectly can cause swirls and scratches. If you are unsure about the proper use of a buffer, you can consult the Technical Manual A200 published by the NWFA to get tips on how to use a buffer.
Here is more information about it. If you want to learn more then marketbusinesstimes.com visit here.
Preparation
If you’re thinking about sanding your floor, you should prepare your home properly before you begin. Before you start, remove all furniture from the room. Make sure to move pieces carefully so as not to leave scratch marks on the floor. Next, you should clean the floor thoroughly. Using an approved floor cleaner should take care of most stains, though you may have to clean pet messes to get them out completely.
The process starts with removing loose boards. Be sure to remove any baseboards or crown moulding that’s in the way of sanding. This will prevent the sanding machine from scraping and gouging the floor. While sanding the floor, never stay on one spot. The entire process is physically strenuous, but it’s well worth the effort. Whether you have a hardwood floor or a laminate, there are some general tips to keep in mind.
Before you begin gulvsliber the floor, you should inspect the perimeter with a flashlight to look for edger scratches. Using an 80-grit sandpaper, if necessary, you can remove a cat scratch with the next step. If you have a maple floor or stained wood, you can go up to a 100-grit. If you’re planning to stain the floor, you’ll want to follow the same process.
What’s Next?
Next, use a paint scraper to reach hard to reach spots that machines cannot. A sharp paint scraper will leave a super-smooth glazed surface that won’t take the finish like the surrounding wood. You can then use an 80 or 100-grit sanding paper to blend in the sanded surface. Then, follow up with another round of 80 or 100-grit sandpaper to ensure evenness.